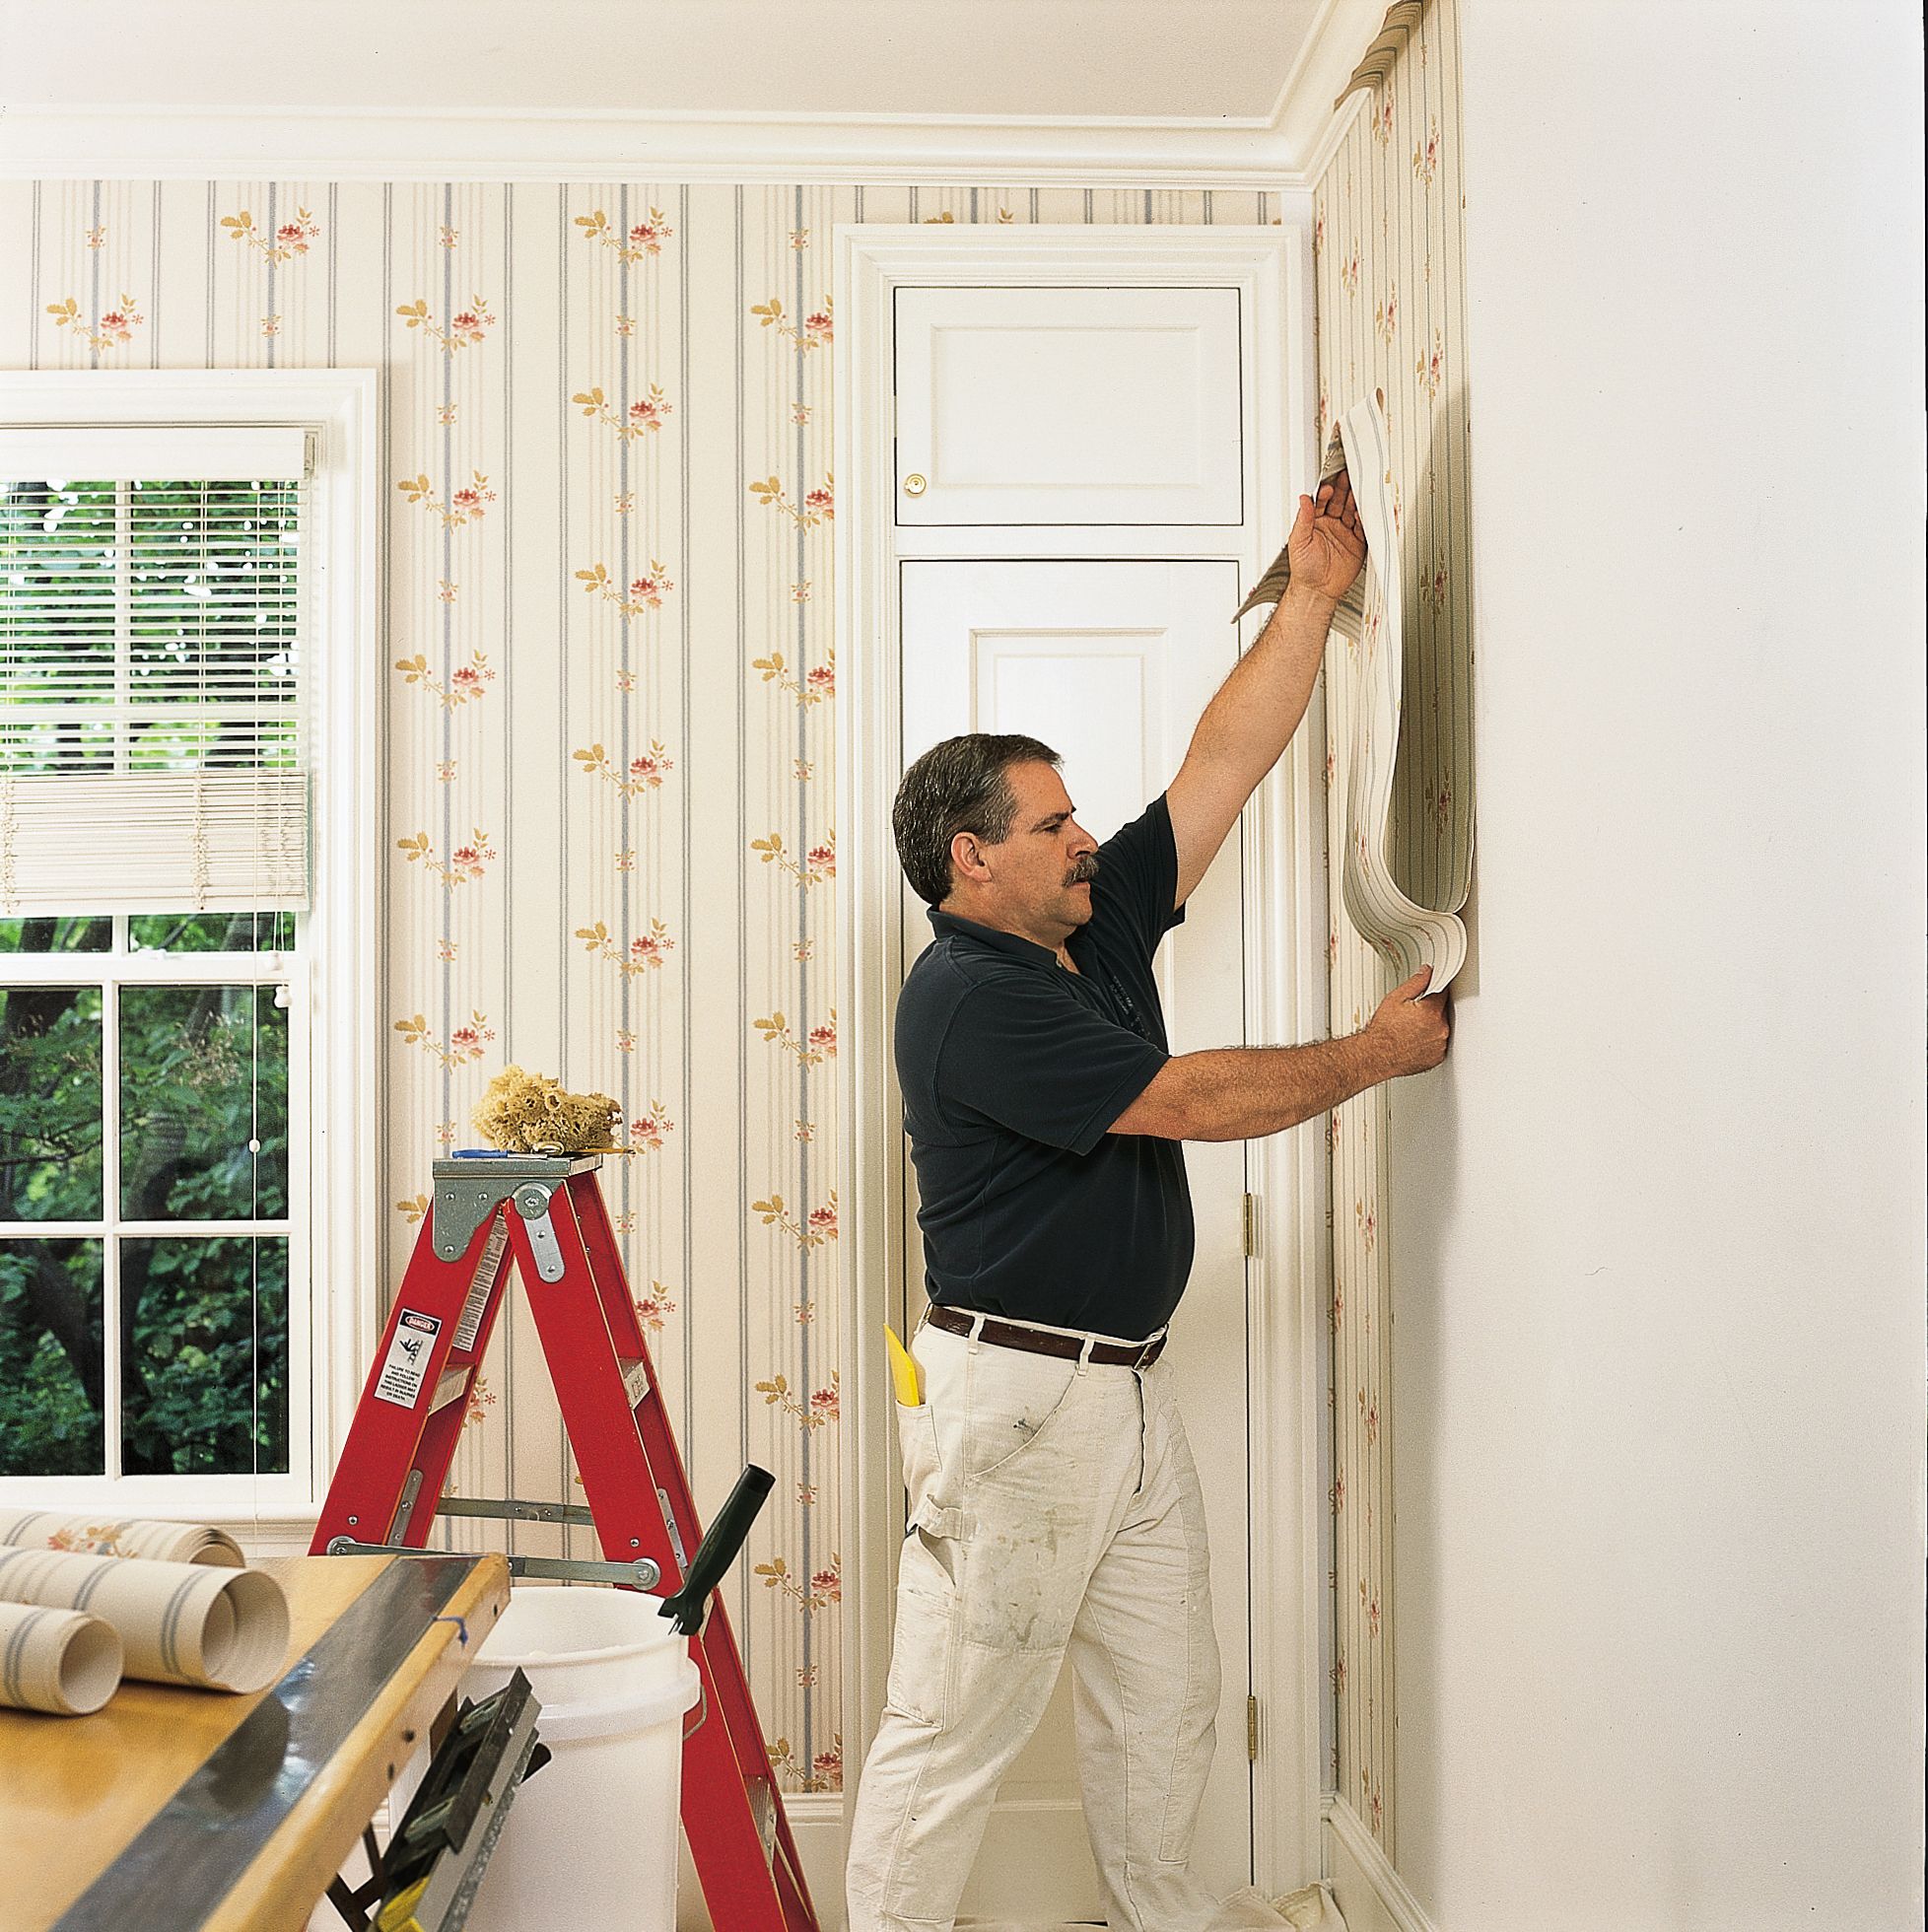
Wallpapers Installation
Wallpapers are an excellent way to transform any room, adding color, texture, and personality to your space. Whether you are redecorating your home or sprucing up a commercial space, proper wallpaper installation is crucial to achieving a professional finish. This guide provides a step-by-step approach to wallpaper installation, ensuring your project is both efficient and successful.
1. Preparation
Before diving into the installation process, preparation is key. Start by gathering all the necessary materials: wallpaper rolls, a sharp utility knife, a straight edge, a measuring tape, wallpaper paste (if required), a sponge or brush for smoothing, and a level.
Next, ensure the walls are clean, dry, and smooth. Remove any existing wallpaper, patch holes, and sand rough areas. If you’re applying wallpaper to a previously painted wall, ensure the paint is fully cured. It’s also recommended to wash the walls with a mild detergent to remove any grease or dust.
2. Measuring and Cutting
Measure the height of your walls from the floor to the ceiling. Add a few extra inches to your measurements for adjustments. Unroll your wallpaper and use a straight edge to cut the strips. When measuring, pay attention to the pattern repeat; you want to ensure that the design aligns properly across multiple strips.
3. Applying Adhesive
Depending on the type of wallpaper you are using, you may need to apply adhesive. Pre-pasted wallpaper only requires a damp sponge to activate the glue, while unpasted wallpaper requires a separate adhesive application. If using paste, spread it evenly on the back of the wallpaper using a roller or brush, making sure to cover the edges. Allow the paste to sit for a few minutes, as instructed, to ensure it becomes tacky.
4. Hanging the Wallpaper
Start hanging the wallpaper from a corner or an adjacent wall. Position the top of the wallpaper strip about half an inch above the top of the wall. This allows for trimming later. Use a plumb line or level to ensure your first strip is straight; this is crucial as it will set the tone for the rest of the installation.
As you apply the strip, gently press it against the wall, smoothing from the center outwards using a sponge or smoothing tool to remove any air bubbles. Take care to align patterns, and use a seam roller to press the edges down securely.
5. Trimming Excess
Once the wallpaper is hung, use a utility knife and straight edge to trim the excess at the top and bottom. Ensure you cut carefully to maintain clean lines. Pay special attention to corners and edges, ensuring the wallpaper fits snugly.
6. Finishing Touches
After trimming, wipe down the seams with a damp sponge to remove any excess paste. It’s essential to let the wallpaper dry completely, which usually takes 24-48 hours. Avoid touching or moving furniture near the walls until the wallpaper has set.
Conclusion
Wallpapers can dramatically enhance the aesthetics of a space, and proper installation is vital for achieving a beautiful, lasting finish. With careful preparation, precise measuring, and attention to detail, anyone can successfully install wallpaper. Whether you’re a DIY enthusiast or a first-timer, following this guide will help you transform your walls with confidence. Enjoy your newly decorated space, and let your personality shine through your wallpaper choice!
